


January 15, 2018
I have figured out how to change the serial number of the VCM2 as well as enter test mode, and get a root shell on it.
You’ll need a microSD card for this to work.
1. Use IDS 86.
2. Recover yourVCM2.
a. Describing how to recover is beyond the scope of this post. Search the forums for instructions.
b. Afterrecoveryyour VCM2 should be at VCM2 FW version 2.1.1.5.
3. Wait about 90 seconds after the VCM2 beeps before proceeding. We are waiting for the SD card to be populated.
4. Unplug the VCM2 and eject the SD card.
5. Mount the SD card with
6. On the SD card open ‘apps/
7. Add the following line to the file:
touch /etc/
8. Cleanly unmount the SD card and insert it back into the VCM2.
9. Plug theVCM2
10. Launch IDS.
11. Go to system utilities

- Select ‘Launch Monitor Tool’ and confirm on
thepop up.
13. Select ‘Run System Diagnostics’ > ‘Next’ > ‘Test a VCM II Module’ > ‘Next’

- Once the test
completesunplug , wait a coupleseconds, and then re-plug the VCM2 into the computer.
15. Wait about 15 seconds past when the VCM2 beeps and point your browserto http ://192.168.171.2

You are now in the test mode web server.
a. To set a new serial number select ‘Set New Serial Number’ and proceed with serial number setting.
The default serial number is: 1211-31605352
b. To get a root shell Telnet to 192.168.171.2 you will be dropped to a root shell without providing login credentials.
c. To stay
Here Be Dragons:
To those who would go poking around
My bootloader was
Posted by ColtB45
src: https://mhhauto.com/Thread-VCM2-Hacking
YOU ARE TRYINGONYOUR OWN RISK!
Posted by: mbbenzstar at
07:05 AM
| Comments (4)
| Add Comment
Post contains 362 words, total size 18 kb.
January 12, 2018
Video from Facebook
Upload photos:


Source:
Posted by: mbbenzstar at
06:06 AM
| Comments (5)
| Add Comment
Post contains 25 words, total size 42 kb.
January 09, 2018
User guide
Step-by-step,
Step 1: Double Check the icon name †ConfigAssist†which on the computer desktop.
Step2: Select †SDconnectâ€

Step3: Select †Configureâ€.

Step 4: Select the icon


Step5:

Step 6 and 7 :

Step 8 , 9 and 10.

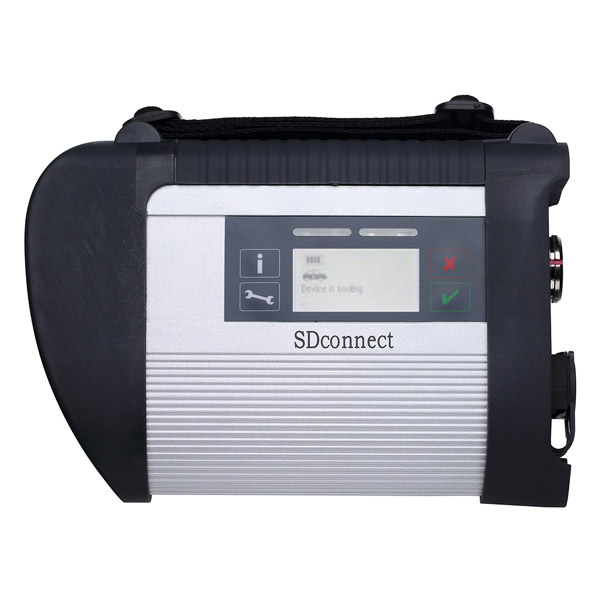
Step 11: Successful to ActivationMB SD Connect C4C5MB Star Diagnostic Tools

If you
Posted by: mbbenzstar at
09:33 AM
| Comments (1)
| Add Comment
Post contains 86 words, total size 22 kb.
User guide
Step-by-step,
Step 1: Double Check the icon name †ConfigAssist†which on the computer desktop.
Step2: Select †SDconnectâ€
Step3: Select †Configureâ€.
Step 4: Select the icon
Step5:
Step 6 and 7 :
Step 8 , 9 and 10.
Step 11: Successful to ActivationMB SD Connect C4C5MB Star Diagnostic Tools
If you
Posted by: mbbenzstar at
09:33 AM
| No Comments
| Add Comment
Post contains 86 words, total size 22 kb.
January 05, 2018
Here is a
Kombiinstrument->DiagnosenachWerkangabe->Steuergerate-Anpassungen->
Steuergerate-Anpassungen (Variantencoderierung)->Variantkodierung Werkeinstellungen->
In the menu
enable this option
now you
If
you scroll a little more
you
Scroll
if you watch your
to do this
then choose Ansteuerungen->GesamstlisteallerAnsteuerungen->
Scroll
PressF3and confirm again withF3
Now you will see the "Kombiinstrument†reboots
Posted by: mbbenzstar at
07:09 AM
| Comments (1)
| Add Comment
Post contains 144 words, total size 12 kb.
January 03, 2018
For adding cruise control on vito viano w639
It is not my discovery, i find that on internet.
Add cruisecontrol / limiter to your Vito/Viano W639 it’s configuration.
This should work for all W639 till AJ08
InDAS Developer modetested version 10-200![]()
Used withSD connect C4multiplexer
In engine control unit:
Entwicklungen (Development data) ->F3
Password : flexecu ->F3
Steuergerate – Anpassungen (Control unit adaption) ->F3
Steuergerate-Anpassungen (Variantencoderierung) ->F3
VCD_Transporter->F3
a Pop-up tells you : "Mindest eine Codiereinstellung ist ungultig†confirm -> OK
Here you will find the option settings
write down the line that is blue.
For example : NSG or NAG_Klima_Wasserstandschalter
Now we search for the string that contains the same options + Tempomat and Begrenzer
So that will look like : NSG or NAG_Tempomat_v-Begrenzer_Klima_Wasserstandschalter
Once you find it , click it and confirm with ->F3
"Soll die Codierung in Steuergerat ubertragen werden ?â€->F3
JA or YES->F2 to proceed
Now we log out the engine ecu and go to the :
Instrument Cluster ( Kombi instrument) (Magnetti Marelli)
Steuergerate-Anpassungen (Variantencoderierung) ->F3
Variantencoderierung Algemeine Daten->F3
Scroll down untill you see "Limiter†set to Ja or Yes ->F3
F2 -> F1 -> F1
Ansteuerungen -> Gesamstliste aller Ansteuerungen ->
Scroll down untill you see the line : Steuergeraet Resetten (PowerON-Modus) (FN_Reset_SG_Power_ON)
Press F3 and confirm again with F3
Now you will see the "Kombiinstrument†reboots
Cruise control coding is added succesfully to your W639 now
Posted by: mbbenzstar at
03:46 AM
| No Comments
| Add Comment
Post contains 244 words, total size 7 kb.
37 queries taking 0.064 seconds, 108 records returned.
Powered by Minx 1.1.6c-pink.

